GNU Guix is an open source project that I use quite a bit. As such, I think it's important for folks to know how to contribute to the project.
The guix documentation is very thorough and goes into great detail. However, I feel as if it's missing concrete examples, which is what this post will be.
In this post, I will be walking through the steps of how I added the Zola package to guix upstream instead of relying on my hacked-together version of Zola in my channel.
Step 1: Fork Guix source code on Codeberg
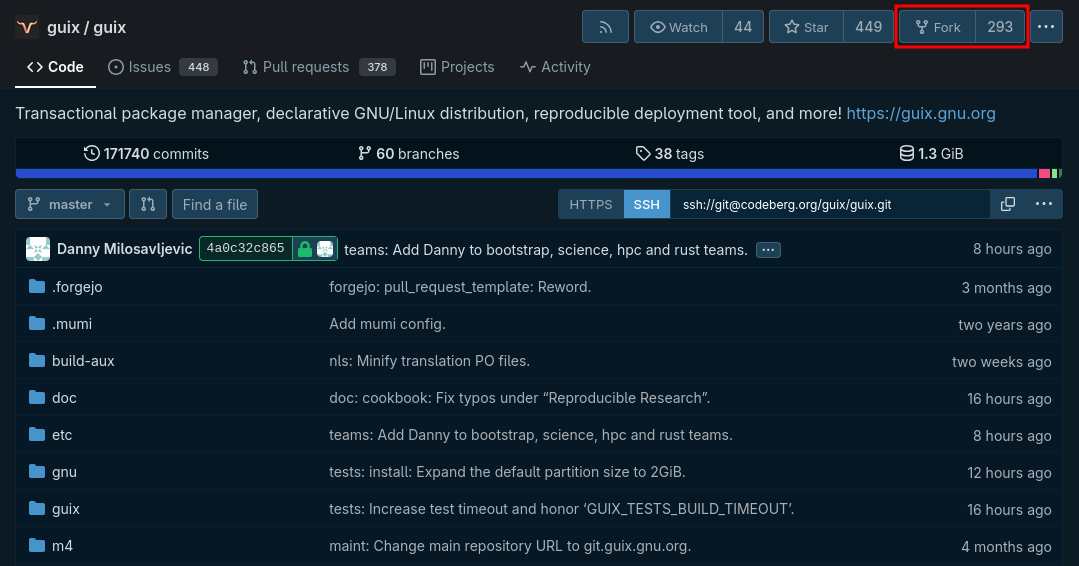
Head over to Guix on Codeberg and click the fork button. You probably need to make an account with codeberg to do this.
After forking, you will have your very own copy of the repo that you can use to create pull requests!
Clone your repo onto your machine and create a new branch.
Step 2: Make edits to the source code as needed
Step A: Import package crate dependencies
These steps will differ depending on what build system the package you are trying to add/edit uses. For this example, I packaged the Zola package, which uses rust as its build system. For rust specifically, there is a new packaging model (as of June 2025), so we will be using that. The steps are:
Download the source code of the package and version you want to build and make sure it has a Cargo.lock file.
We will run:
guix import -i gnu/packages/rust-crates.scm crate -f /path/to/Cargo.lock PACKAGE
Where gnu/packages/rust-crates.scm points to the rust-crates.scm file of the forked repo we just downloaded and PACKAGE is the name of what package you want to add. In our case, PACKAGE was zola.
This will then populate gnu/packages/rust-crates.scm with a bunch of dependencies. Take a look through this code (using git diff) and make sure there are no TODO comments in the new dependencies. The biggest one that I ran into was:
;;; TODO: Check package for bundled sources
This happens with rust packages sometimes since rust can pull in binaries during its build process. This is a big no-no for guix, as we don't want to dump unverifiable binaries into the build. If this happens, first, take a look at the source code of the crate and check for non-rust sources.
I had this in the package rust-libwebp-sys-0.9.6. After taking a look at the source code, it was found that the package uses a C-based binary in the vendor directory. Thus we needed to manually patch this dependency like:
(define rust-libwebp-sys-0.9.6
  (crate-source "libwebp-sys" "0.9.6"
                "0cv7hxzh9p66q5c4ay30bvffh0y66abwmr2nliscwrbigkgk1kal"
                #:snippet
                '(begin
                   (delete-file-recursively "tests")
                   ;; Remove bundled C sources.
                   (delete-file-recursively "vendor")
                   ;; Remove the original build.rs which builds bundled code.
                   (delete-file "build.rs")
                   ;; Replace it with a simple linker hint to use system libwebp.
                   (with-output-to-file "build.rs"
                     (lambda _
                       (format #t "fn main() {~@
                        println!(\"cargo:rustc-link-lib=webp\");~@
                        }~%"))))))
This pulls out the bundled sources and builds everything from source.
Step B: create the rust app
After getting our dependencies locked in, we can build out the actual build for the package we want.
(define-public zola
  (package
    (name "zola")
    (version "0.21.0")
    (source
     (origin
       (method git-fetch)
       (file-name (git-file-name name version))
       (uri (git-reference
             (url "https://github.com/getzola/zola")
             (commit (string-append "v" version))))
       (sha256
        (base32 "1j7mdw7y3j2fzwickfl9w4yx0xjbkaf03vcndf2b6jc3la20rzgv"))))
    (build-system cargo-build-system)
    (arguments
     (list
      #:install-source? #f
      #:modules
      '((guix build cargo-build-system)
        (guix build utils)
        (ice-9 match))
      #:phases
      #~(modify-phases %standard-phases
          (add-after 'install 'install-completions
            (lambda* (#:key native-inputs #:allow-other-keys)
              (for-each
               (match-lambda
                 ((shell . path)
                  (mkdir-p (in-vicinity #$output (dirname path)))
                  (let ((binary
                         (if #$(%current-target-system)
                             (search-input-file native-inputs "bin/zola")
                             (in-vicinity #$output "bin/zola"))))
                    (with-output-to-file (in-vicinity #$output path)
                      (lambda _
                        (invoke binary "completion" shell))))))
               '(("bash"   . "share/bash-completion/completions/zola")
                 ("elvish" . "share/elvish/lib/zola")
                 ("fish"   . "share/fish/vendor_completions.d/zola.fish")
                 ("zsh"    . "share/zsh/site-functions/_zola"))))))))
    (native-inputs
     (append
       (if (%current-target-system)
           (list this-package)
           '())
       (list pkg-config)))
    (inputs (cons* libwebp oniguruma
                   (cargo-inputs 'zola)))
    (synopsis "Static site generator")
    (description
     "Zola generates static websites from Markdown content and Tera templates.
It supports taxonomies, shortcodes, and live reloading.")
    (home-page "https://www.getzola.org/")
    (license license:expat)))
Most of this is a normal guix derivation, which maybe I will describe in more detail in a future blog post. The important part for this tutorial is the snippet:
(inputs (cons* libwebp oniguruma
               (cargo-inputs 'zola)))
This is where we pull in all those cargo dependencies into the inputs of our build. So everything that is defined as a "zola dependency" within gnu/packages/rust-crates.scm is used as an input for our package.
Step 3: Build the package
Now that we have our package defined, we need to test it. The first thing we need to do is to bootstrap the guix development dependencies. So we will run:
guix shell -D guix
If you are running guix as a system, this may not be needed, but it's a good idea just to make 100% sure that we have all the little development bits-and-pieces.
Then, in the root of your fork you will see a script called bootstrap. Run this:
./bootstrap
This will generate a configure file. Run it:
./configure
Now we are ready for the big compilation. Run:
make
This could take some time. There may be some optimizations you could make to speed it up, but I will leave that as an exercise for the reader.
Assuming it succeeds, we will be left with a script called pre-inst-env. This is a env script we can use to wrap our guix command to use the sources in your forked repo. So in order to run and test our new package, we will run:
./pre-inst-env guix build <package>
Step 4: Final touches and creating a pull request
The last piece before pushing your branch to the fork is to run:
./pre-inst-env guix lint <package>
This will tell you if you need to change the description or synopsis (docs).
Then, to keep a long story short, take a look at the documentation about contributing and all the required testing, like pulling the entire repo as a channel to make sure nothing blows up.
Make the requested changes, then we should be good to push:
git add .
git commit
git push
Open your forked codeberg repo, and there should be a button on the top to make a pull request against the guix master.
For extra details, check out the documentation here.
Extras:
If there are any changes that the maintainers request, make sure to patch your pull request with:
git add .
git commit --amend
git push --force-with-lease
This is because we only want 1 commit per pull request.